Şekil 17.408. Aynı görüntü, “Küre Tasarımcısı” süzgeci uygulanmasından önce ve sonra.
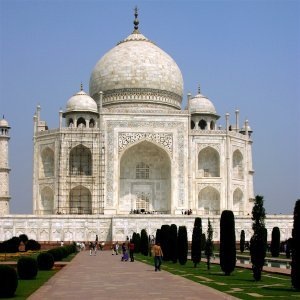
Özgün görüntü
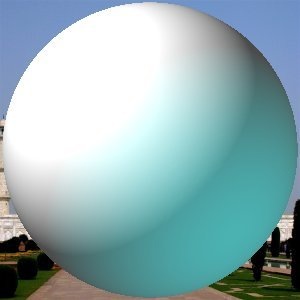
Filter applied
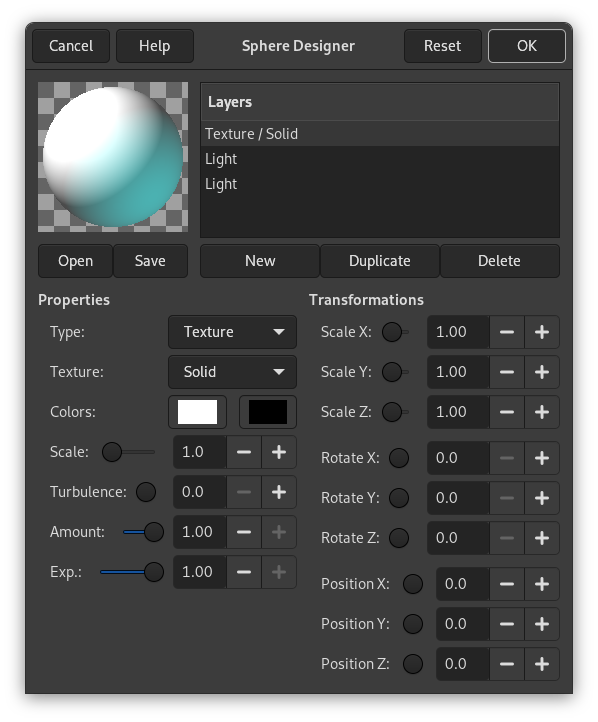
This filter creates a three dimensional sphere with different textures. It replaces the original image.
![[Not]](images/note.png)
|
Not |
|---|---|
|
If the image is in indexed mode, this menu entry is disabled. |
- Ön izleme
-
All your setting changes will appear in the Preview without affecting the image until you click on OK. Note that the preview displays the whole image, even if the final result will concern a selection. Click the button Update Preview to see the result of the current settings.
Desenler
The list of textures applied to the sphere. The textures are applied in the order listed. Each item shows the type and the name of the texture.
- Yeni
-
Creates a new texture and adds it to the end of the list. The name and the features of this new texture are the ones which are displayed in the Texture Properties area, but you can change them by operating in this area, provided that your new texture is highlighted.
- Çoğalt
-
Copies the selected texture and adds the copy to the end of the list.
- Sil
-
Deletes the selected texture from the list.
- Aç, Kaydet
-
Allows to save current settings or load previously saved settings.
Özellikler
- Tür
-
Determines the type of action on the sphere.
- Desen
-
Covers the sphere with a specific pattern.
- Derinlik etkisi
-
Gives some relief to the texture.
- Işık
-
Lets you set the parameters of the light shining on the sphere.
- Desen
-
Determines the pattern used by the texture type. If the texture applies to light then the light is distorted by this texture as if it was going through this texture before falling onto the sphere. If the texture applies to the texture itself, the texture is applied directly to the sphere. Several options are available.
- Renkler
-
Sets the two colors to be used for a texture. By pressing the color button a color selection dialog appears.
- Ölçek
-
Determines the size of separate elements composing the texture. For example, for the “Checker” texture this parameter determines the size of black and white squares. Value range is from 0 to 10.
- Türbülans
-
Determines the degree of texture distortion before applying the texture to the sphere. Value range is from 0 to 10. With values of up to 1.0 you can still make out the undistorted patterns; beyond that the texture gradually turns into noise.
- Miktar
-
Determines the degree of influence the texture has on the final result. Value range is from 0 to 1. With the value of 0 the texture does not affect the result.
- Katsayı
-
With the Wood texture, this option gives an aspect of venetian blind, more or less open.
Dönüşümler
- X Ölçeği, Y Ölçeği, Z Ölçeği
-
Determines the degree of stretching/compression of the texture on the sphere along the three directions. The value range is from 0 to 10.
- X Dönmesi, Y Dönmesi, Z Dönmesi
-
Determines the amount of a turn of the texture on the sphere around the three axes. The value range is from 0 to 360.
- X Konumu, Y Konumu, Z Konumu
-
Determines the position of the texture relative to the sphere. When type is Light, this parameter refers to the position of the light floodlighting the sphere.
düğmesi tüm parametreleri öntanımlı değerlere döndürür.


