In this section, you will learn how to create simple objects in GIMP.
Let's begin by painting a straight line. The easiest way to create a straight line is by using your favorite brush tool, the mouse and the keyboard.
-
Create a New Image
Create a new image.
-
Choose a Tool
Select a brush tool from the Toolbox, for example the
 Pencil tool or the
 Paintbrush tool.
-
Select a Color
Select a foreground color, but be sure that the foreground and background colors are different.
-
Create a Starting Point
그림 7.32. 직선 그리기 시작

다음 그림은 직선의 시작점이 찍힌 새 이미지입니다. 점은 전경색으로 검정색입니다.
The size of this dot represents the current brush size, which you can change in the Brush Dialog.
이미지 화면 영역에 마우스 좌버튼 클릭을 해서 시작점을 만들면, 그림 7.31. “새로운 이미지” 과 같은 화면이 됩니다.
-
Draw the Line
Now, hold down the
 Shift key on your
keyboard and move the mouse away from the starting point you
created. You'll see a thin line indicating how the line will
look.
Shift key on your
keyboard and move the mouse away from the starting point you
created. You'll see a thin line indicating how the line will
look.
-
Finish the Line
If you're satisfied with the direction and length of the line, click the left mouse button again to finish the line. The last step is to let go of the Shift key. GIMP displays a straight line now.
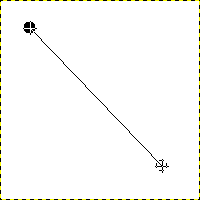
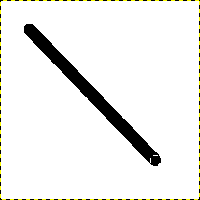
그림 7.35. Example I
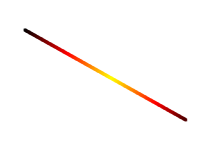
Set Dynamics to “Color From Gradient” and set Color Options to “Incandescent”. Under Fade Options, set Repeat to “Truncate”. Depending on the size of your underlying image, you might want to change the Fade length as well.
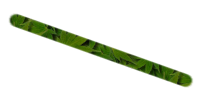
Select the Clone tool and set the source to “Maple Leaves” pattern.
그림 7.36. Example II
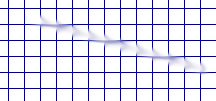
Use → → → to create a grid. Use the Smudge Tool to draw a line with a slightly larger brush.
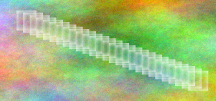
Use → → → to create the cool plasma cloud. Use the Erase Tool with a square brush to draw a line.
그림 7.37. Example III
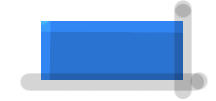
Use the rectangle select tool to select a rectangle, and then fill the selection with a light blue color. Select the Dodge/Burn tool. Set the type to Dodge and paint along the top and left side using an appropriately sized brush. Set the type to Burn and paint along the right and bottom.


