Figura 17.169. Ejemplo de aplicación del filtro diferencias de gaussianas

Imagen original

Filtro “Diferencia de gaussianas” aplicado con radio 1 = 1.000 y radio 2 = 0.100.
This filter does edge detection using the so-called “Difference of Gaussians” algorithm, which works by performing two different Gaussian blurs on the image, with a different blurring radius for each, and subtracting them to yield the result.
This algorithm is very widely used in artificial vision, and is pretty fast because there are very efficient methods for doing Gaussian blurs.
- Presets, “Input Type”, Recortar, Blending Options, Vista previa, Merge filter, Split view
-
![[Nota]](images/note.png)
Nota Estas opciones se describen en la Sección 2, “Características comunes”.
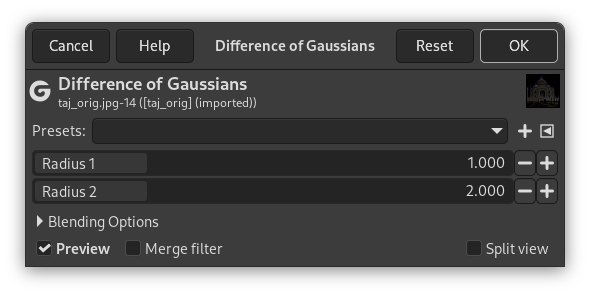
- Radius 1, Radius 2
-
Radius 1 and Radius 2 are the blurring radii for the two Gaussian blurs. Increasing “Radius 1” tends to give thicker-appearing edges, and decreasing the “Radius 2” tends to increase the “threshold” for recognizing something as an edge.
If you want to produce something that looks like a sketch, in most cases setting “Radius 2” smaller than “Radius 1” will give better results.
In situations where you have a light figure on the dark background, reversing them may actually improve the result.


