| Anexa D. Tone Mapping and Shadow Recovery Using GIMP’s ‘Colors/Exposure’ | ||
|---|---|---|

|
 |
|
| Anexa D. Tone Mapping and Shadow Recovery Using GIMP’s ‘Colors/Exposure’ | ||
|---|---|---|
|
|
|
|
Cuprins
This tutorial comes from www.gimp.org/tutorials and was created by Elle Stone. It is presented here for translations.
A very common editing problem is how to lighten the shadows and midtones of an image while retaining highlight details, a task sometimes referred to as “shadow recovery” and more generally speaking as “tone mapping”. This step-by-step tutorial shows you how to use high bit depth GIMP’s floating point “Colors/Exposure” operation to add one or more stops of positive exposure compensation to an image’s shadows and midtones while retaining highlight details.
A very common editing problem is how to lighten the shadows and midtones of an image without blowing out the highlights, which problem is very often encountered when dealing with photographs of scenes lit by direct sunlight. Precanned algorithms for accomplishing this task are often referred to as “shadow recovery” algorithms. But really these algorithms are special-purpose tone-mapping algorithms, which sometimes work pretty well, and sometimes not so well, depending on the algorithm, the image, and your artistic intentions for the image.
This step-by-step tutorial shows you how to use GIMP’s unbounded floating point “Colors/Exposure” operation to recover shadow information—that is, add one or more stops of positive exposure compensation to an image’s shadows and midtones—without blowing out or unduly compressing the image highlights. The procedure is completely “hand-tunable” using masks and layers, and is as close as you can get to non-destructive image editing using high bit depth GIMP 2.9/2.10.
Figura 1: linii electrice la prânz
Before and after tone mapping (aka “shadow recovery”) using high bit depth GIMP’s floating point “Colors/Exposure”.
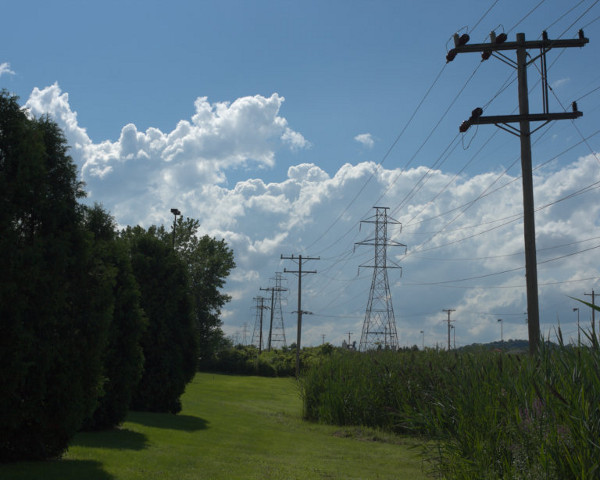
Fișier brut interpolat referat de scenă.
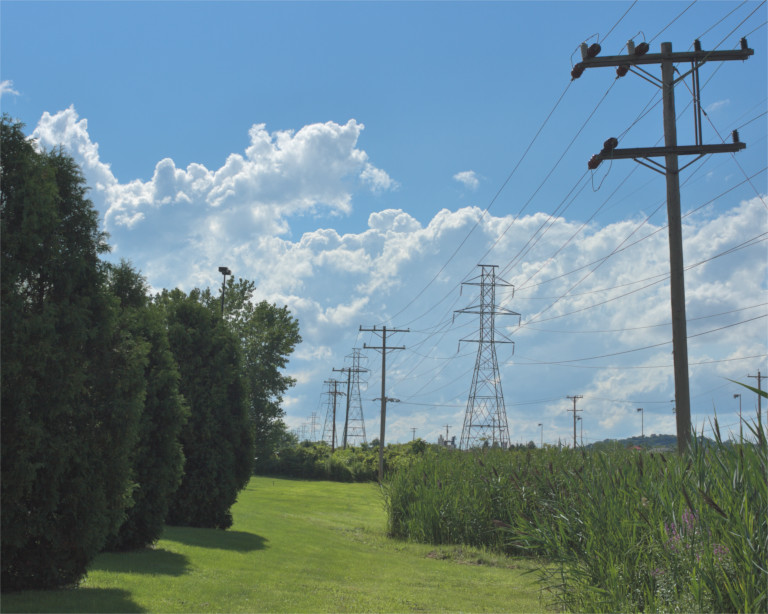
After tone mapping/shadow recovery using GIMP unbounded Levels.
High bit depth GIMP is my primary image editor, and I’ve used the procedure described below for the last couple of years as my “go to” way to modify image tonality. The same general procedure can be used to darken as well as lighten portions of an image, again controlling the effect using a layer mask. This isn’t exactly nondestructive editing because at some point you need to make a “New from Visible” layer. But unlike using Curves, using high bit depth GIMP’s floating point “Colors/Exposure” doesn’t clip RGB channel values and allows you to fine-tune the results by modifying and re-modifying the layer mask until you are completely happy with the resulting tonality.
