-
GIMP は図形描画用には設計されていません。[3] しかし 「直線の引き方」 に書かれた技法や選択範囲を使えば図形が描けます。 もちろんこれ以外にも図形を描く方法はありますが、 ここでは簡単な技にだけ的を絞ります。 それではまず 新しい画像 を作成してから、 描画色と背景色 が違う色になるようにしてください。
-
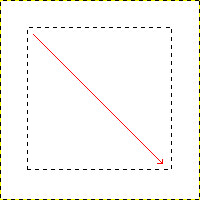
Basic shapes like rectangles or ellipses, can be created using the selection tools. This tutorial uses a rectangular selection as an example. So, choose the rectangular selection tool and create a new selection: press and hold the left mouse button while you move the mouse to another position in the image (illustrated in 図7.38「矩形の選択範囲を作成」). The selection is created when you release the mouse button. For more information about key modifiers see selection tools.
-
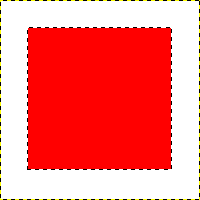
After creating the selection, you can either create a filled or an outlined shape with the foreground color of your choice. If you go for the first option, choose a foreground color and fill the selection with the Bucket Fill tool. If you choose the latter option, create an outline by using the Stroke Selection menu item from the menu. If you're satisfied with the result, remove the selection.