If you have images that take up a large space on disk, you can reduce that space even without changing the image dimensions. One of the best image compressions is achieved by using the JPG format, but even if the image is already in this format, you can usually still make it take up less space, as the JPG format has an adaptive compression scheme that allows saving in varying levels of compression. The trade-off is that the less space an image takes, the more detail from the original image you lose. You should also be aware that repeated saving in the JPG format causes more and more image degradation.
Images are loaded and saved as .XCF files. Your JPG image has been loaded as XCF. GIMP offers you to → or → to open the “Export Image” dialog.
The dialog opens with the file name already selected in the Name field, with the default extension. Delete the existing extension and type “.jpg” instead. GIMP will determine the file type from the extension. Click . This opens the Export Image as JPEG dialog that contains the Quality control.
The Export Image as JPEG dialog uses default values that reduce size in memory while retaining good visual quality; this is the safest and quickest thing to do.
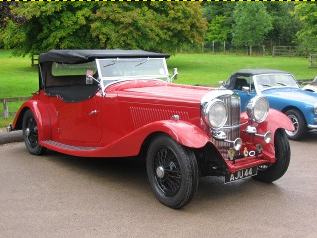
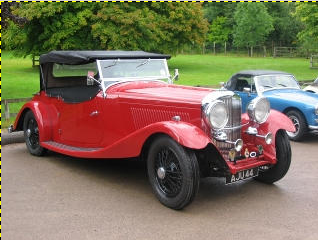
Figure 3.17. Example for Moderate JPEG Compression

Quality: 90 (default); Size: 33.7 KiloBytes

Quality: 75; Size: 20.1 KiloBytes
Reduce the image Quality to make the image even smaller. Reduced quality degrades the image, so be certain to check “Show preview in image window” to visually gauge the degradation. A Quality setting of 10 produces a very poor quality image that uses very little disk space. A quality of 75 produces a reasonable image using much less disk space, which will, in turn, load much faster on a web page. Although the image is somewhat degraded, it is acceptable for the intended purpose.
Finally, here is a comparison of the same picture with varying degrees of compression:
Figure 3.18. Example for High JPEG Compression

Quality: 10; Size: 3.4 KiloBytes

Quality: 40; Size: 9.3 KiloBytes
Figure 3.19. Example for Moderate JPEG Compression

Quality: 70; Size: 15.2 KiloBytes

Quality: 100; Size: 72.6 KiloBytes


