| 5. Kleurgereedschappen | ||
|---|---|---|

|
Hoofdstuk 14. Tools |  |
| 5. Kleurgereedschappen | ||
|---|---|---|
|
|
Hoofdstuk 14. Tools | |
Figuur 14.139. The Color tools in the Tools menu
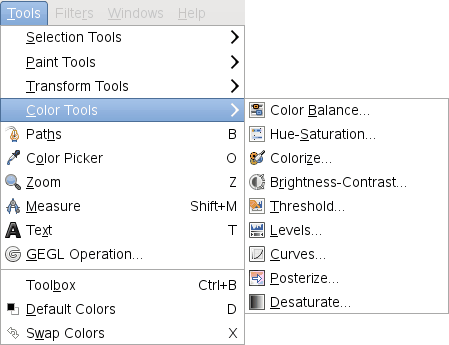
Access to the Color tools through the “classical” Tools menu.
Figuur 14.140. The Color tools in the Colors menu
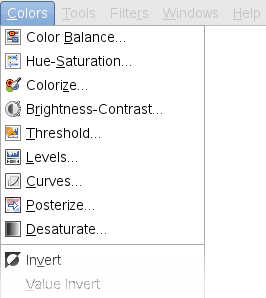
Access through the Colors menu is easier and faster.
With the Color tools you can manipulate image colors in several ways:
Modify the color balance: Paragraaf 5.2, “Kleurbalans”
Adjust hue, saturation and lightness levels: Paragraaf 5.3, “Tint / verzadiging”
Render into a greyscale image seen through a colored glass: Paragraaf 5.4, “Verkleuren”
Adjust brightness and contrast levels: Paragraaf 5.5, “Helderheid / contrast”
Transform into a black and white image depending on pixel value: Paragraaf 5.6, “Drempelwaarde”
Change the intensity range in a channel: Paragraaf 5.7, “Niveaus”
Change color, brightness, contrast or transparency in a sophisticated way: Paragraaf 5.8, “Curves”
Reduce the number of colors: Paragraaf 5.9, “Posterkleuren”
Convert all colors to corresponding shades of gray: Paragraaf 5.10, “Desatureren”
Except Desaturate and Posterize, color tools have presets: saved tool settings that you can retrieve later.
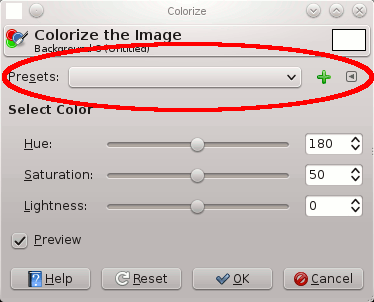
Three elements:
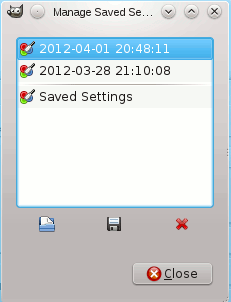
Presets: this drop-down list shows you the existing presets. Every time you change tool settings, a new preset is automatically saved, with date and hour; you must be aware of that, to preserve your computer memory.
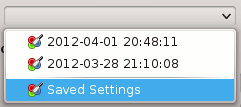
The cross: clicking on this cross opens a window where you can save current settings under the name you want.
The small triangle: clicking on this triangle opens a small menu:
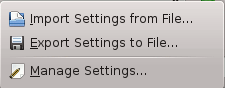
Three options:
Import settings from file
Export settings to file
Manage settings