| 4.5. 画像を切り抜く | ||
|---|---|---|

|
4. よくある使い方 |  |
| 4.5. 画像を切り抜く | ||
|---|---|---|
|
|
4. よくある使い方 | |
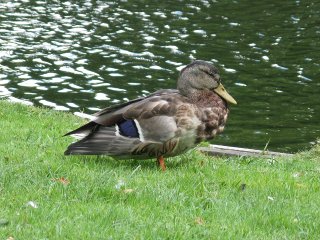
画像を切り抜く理由はたくさんあります。 枠に収まるようにしたり、 背景の要らない部分を切り落として被写体をよく見えるようにしたり…。 切り抜きツールの呼びだし方には 2 通りあります。 ツールボックスの
 ボタンをクリックするか、 画像ウィンドウのメニューより → → と進んでください。 するとカーソル形状が変わり、 クリックしてドラッグすることで矩形が現れます。 ツールボックスのボタンを使えば最も簡単にツールを選べます。
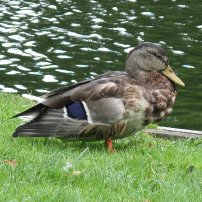
切り抜きたい部分を囲む四角な領域の一角をマウスでクリックして対角までドラッグすると切り抜き範囲ができます。 切り抜きの最初からきっちり正確にしようと苦心する必要はありません。 すぐさま変更が効きます。
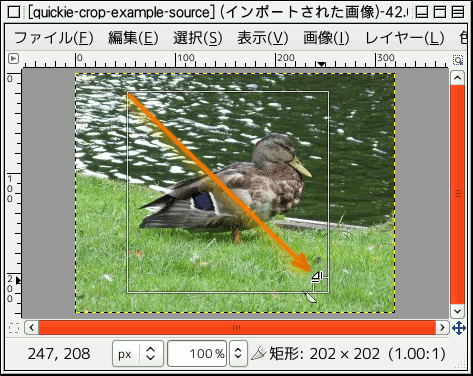
After completing the click and drag motion, a rectangle with special regions is shown on the canvas. As the cursor is moved over the different areas of the selected crop area, the cursor changes. You can then drag the rectangle's corners or edges to change the dimensions of the selected area. As shown in the figure above, as the crop area is resized, the dimensions and ratio are shown in the status bar. Double-click inside the rectangle or press Enter to complete cropping. See 「切り抜き」 for more information on cropping in GIMP.
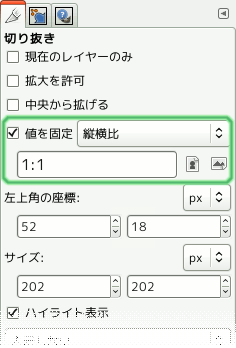
If you would like to crop the image in a specific aspect ratio, such as a square, make sure the tool options are visible ( → → ). In the Tool Options dockable, check the mark next to Fixed and make sure the drop-down box next to it is set to Aspect Ratio. You can now type the desired aspect ratio on the text box below, such as 「1:1」.
You also have controls to change the aspect from landscape to portrait. After you set the aspect ratio, drag one of the corners of the crop rectangle to update it. The rectangle changes to the chosen ratio, and when you drag it should maintain that ratio.