| 5. Como desenhar linhas retas | ||
|---|---|---|

|
Capítulo 3. First Steps with GIMP |  |
| 5. Como desenhar linhas retas | ||
|---|---|---|
|
|
Capítulo 3. First Steps with GIMP | |
Este tutorial é baseado no texto e imagens Copyright © 2002 Seth Burgess. O tutorial original pode ser encontrado na Internet [TUT01].
Este tutorial mostra como desenhar linhas retas com o GIMP. Forçar uma linha a ser reta é uma forma conveniente para lidar com a imprecisão do mouse ou tablet, e para aproveitar o poder de um computador para fazer as coisas parecerem limpas e arrumadas. Este tutorial não usa linhas retas para tarefas complexas; sua intenção é mostrar como você pode usá lo para criar linhas retas rápida e facilmente.
Preparações
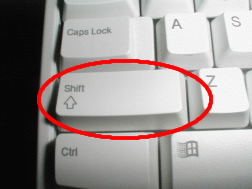
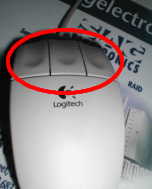
A invenção chamada da máquina de escrever introduziu a tecla Shift. Você geralmente tem 2 delas no seu teclado. Elas se parecem com algo como na figura acima. As teclas estão localizadas nos lados esquerdo e direito do seu teclado. O mouse foi inventado por Douglas C. Engelbart em 1970. Estes vêm em variedades diferentes, mas sempre tem pelo menos um botão.
Criando uma área branca desenhável
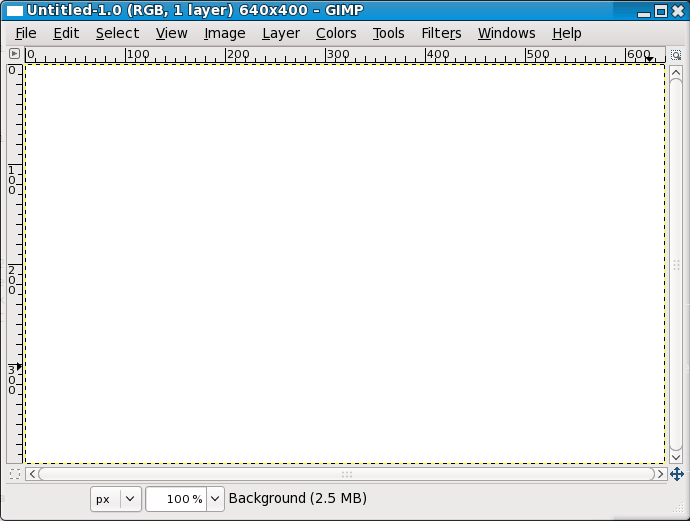
Primeiro, crie uma nova imagem. Faça de qualquer tamanho. Use → para criar uma nova imagem.
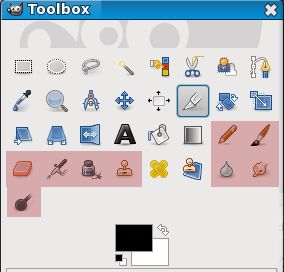
Escolha uma ferramenta
Qualquer uma das ferramentas destacadas em vermelho na caixa de ferramentas acima pode desenhar linhas.
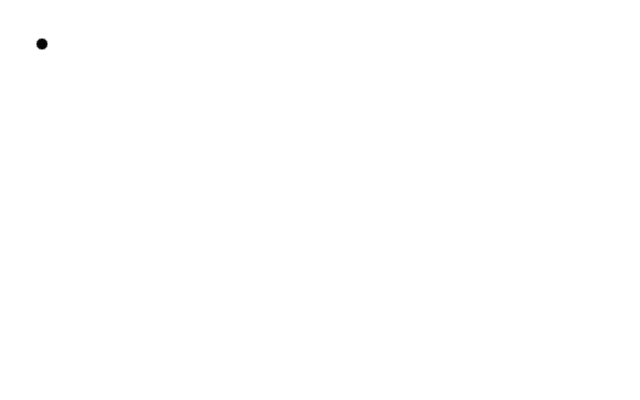
Criar um ponto inicial
Click on the paintbrush in the toolbox. Click in the image where you want a line to start or end. A single dot will appear on the screen. The size of this dot represents the current brush size, which you can change in the Brush Dialog (see Seção 3.2, “Diálogo de pincéis”). Now, let's start drawing a line. Hold down the Shift key, and keep it down.
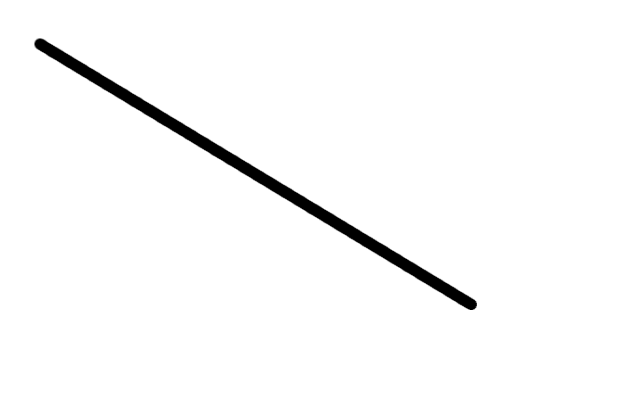
Desenhando a linha
After you have a starting point and while pressing the Shift key, you will see a straight line that follows the cursor. Press the first button on the mouse (the leftmost one usually) and let it go. During that whole “click” of the mouse button, you need to keep the Shift key held down.
Conclusão
This is a powerful feature. You can draw straight lines with any of the draw tools. You can even draw more lines at the end of this one. Our last step is to let go of the Shift key, and we are finished. Some examples are shown in the next section. Happy GIMPing!