| 4.13. 縁取り選択... | ||
|---|---|---|

|
4. 「選択」メニュー |  |
コマンドは現在の画像上で既にある選択範囲の境界線に沿った中空の新たな選択範囲を作成します。 現在の選択範囲の縁が利用され新しい選択範囲の形状はそれに沿った形状になります。 ダイアログが出てきますので枠線の太さをピクセル単位もしくはその他の単位で指定してください。 新しい枠型の選択範囲はその半分が元の選択範囲の外側に、 半分は内側にまたがるように生成されます。
You can access this command from the image menubar through → .
This command is grayed out, inactive, if there is no selection.
Two conditions must be respected to use this command:
The image must have an alpha channel.
The original image must be created with the 「Antialiasing」 option checked in the selection tool that is used.
この数値入力欄に縁からできる選択範囲の太さを記入してください。 初期設定では単位はピクセルですが引き出しメニューで他の単位も選べます。
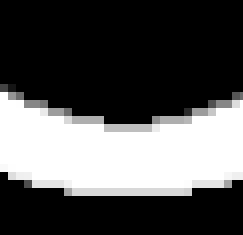
Hard: this option does not keep antialiasing. This can be useful in some cases.
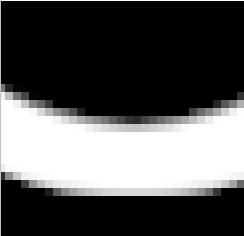
Smooth: this option keeps antialiasing. Note that 「Smooth」 does not create any antialiasing. That's why antialiasing must be added when creating the original selection. This option is the best one.
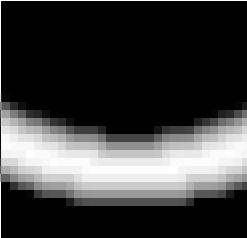
Feathered: this option does the same things as 「Hard」, but instead of the resulting border being fully selected, it fades outwards. The result is not very good; if you want a feathered border, better is use one of the other modes, and then feather the result. It's there for history reason.
図16.41 Border Style Comparison

「Hard」 option. Selection editor, zoom 800%

「Smooth」 option. Selection editor, zoom 800%

「Feathered」 option. Selection editor, zoom 800%
This option was 「Lock selection to image edges」. Its function is unchanged.
このオプションを有効にすると選択範囲 (大抵は矩形の選択範囲) の境界線が画像の縁に達している場合には変化がありません。 つまりその辺では新たな選択範囲が生成されません。
図16.42 Select border with and without 「Selected areas continue outside the image」

左より元の選択範囲、 オプションを無効 (中央)、 有効 (右)

その選択範囲を赤く塗りつぶした