| 7.51. Layer Boundary Size | ||
|---|---|---|

|
7. ”Taso” valikko |  |
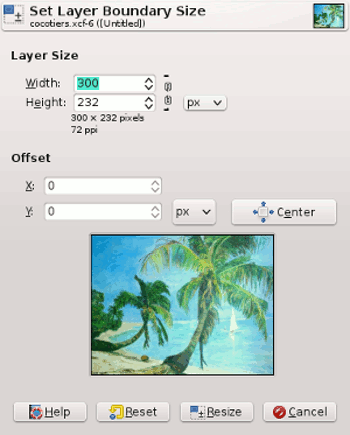
In GIMP, a layer is not always the same size as the others. This command changes the dimensions of a layer, but it does not scale its contents.
When the dialog is displayed, the original dimensions of the active layer are shown. You can change them by using the two text boxes. If these boxes are linked together with a chain, the width-to-height ratio is automatically maintained. If you break the chain by clicking on it, you can set the dimensions independently of each other.
The default unit of measurement is pixels. You can change this by using the drop-down menu. For instance, you might use a ”%” of the current size.
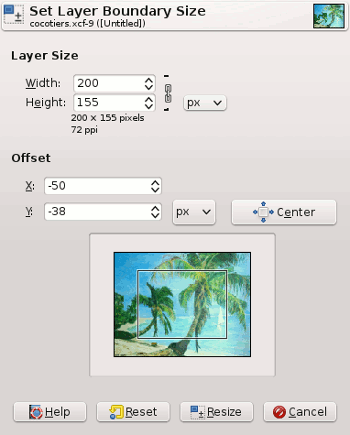
These coordinates are relative to the layer, not to the image. They are used to move a frame that determines which part of the layer content will be selected for the resized layer. In our example, the layer and the content have the same dimensions, and, of course, you have no frame to move. If you reduce Width and Height , the frame of the resized layer appears in the preview.
Below the coordinates, a preview represents the layer with the frame of the resized layer. You can move this frame using the X and Y offsets and also dragging the cross-shaped moving pointer that appears when the mouse pointer overflies the layer area.
This button allows you to place the frame at the center of the layer.
You can't resize a layer to bigger dimensions than that of the image.
If the layer is smaller than the image, you can enlarge Width and/or Height . There is no good reason to do that, except if you want to enlarge the layer to the size of the image; but, in that case, it's better to use Layer to Image Size.
You can resize the layer to a smaller dimension to eliminate unwanted parts.
Kuva 16.139. Example

The selected layer for resizing

The frame representing the new layer size. It has been placed at the center of the layer using the button.
If the image has only one layer, it's better to use the Crop tool.