| 8.56. Colorear | ||
|---|---|---|

|
8. El menú “Colores” |  |
| 8.56. Colorear | ||
|---|---|---|
|
|
8. El menú “Colores” | |
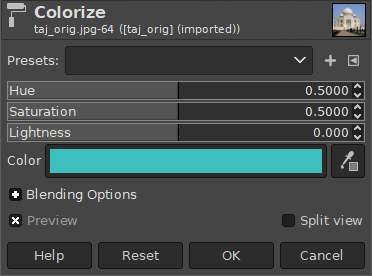
The Colorize filter renders the active layer or selection into a grayscale image seen through a colored glass. You can use it to give a “Sepia” effect to your image. See Modelo de color for Hue, Saturation, Luminosity.
You can get to the Colorize filter:
En el menú de imagen a través de →
“Presets” are a common feature for several Colors commands. You can find its description in Sección 8.1.1, “Características comunes de los colores”.
The slider and the numeric input box allow you to select a Hue value in the range: 0.0 to 1.0.
The slider and the numeric input box allows you to select a Saturation value in the range: 0.0 to 1.0.
The slider and the numeric input box allow you to select a Lightness value in the range: -1.0 (dark) to +1.0 (light).
Using the color button or the color picker you can quickly select the color used to colorize your image. Selecting a color here will adjust the sliders above it.
These are common features described in Sección 8.1.1, “Características comunes de los colores”.