| 13.6. Little Planet | ||
|---|---|---|

|
13. Map Filters |  |
This filter converts a panorama into a small planet. All images don't fit this filter. The ideal image is a 360° x 180° image, also known as equirectangular image. We will see that it is possible to use normal images also.
Options
![[Note]](images/note.png)
|
Note |
|---|---|
|
These options are described in Section 2, “Common Features”. |
Horizontal camera panning. If “Inverse transform” option is checked, the “pan” option moves line of sight horizontally. Else, it works as “Spin” option.
Vertical camera panning. Moves line of sight upwards/downwards.
Spin angle around camera axis. Rotates planet around line of sight.
Zoom level. Zooms planet in/out.
Do the inverse mapping; useful for touching up zenith, nadir or other parts of panorama.
Interpolation methods are described in Interpolation
“Cubic” may give better result.
![[Tip]](images/tip.png)
|
Tip |
|---|---|
|
You can find free equirectangular images at https://commons.wikimedia.org/wiki/Category:360°_panoramas_with_equirectangular_projection. |

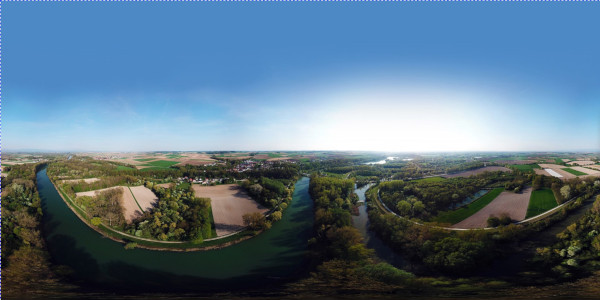
Ettling_Isar_panorama.jpg by © Simon Waldherr under CC by-sa 4.0
GIMP opened this 16000x8000 pixels original image in a 1000x500 px frame at zoom 6.25. This is a screenshot scaled to 600x300 px. Note the empty sky, the horizon perfectly horizontal, the vanishing perspective.

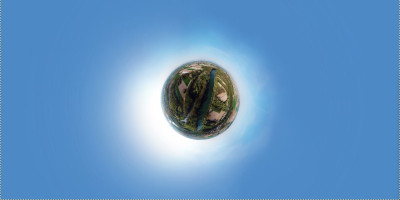
Filter applied
Your panorama rarely satisfies conditions necessary for this filter, especially if you cut it off a larger image. The Little Planet filter brings left and right image sides together, and creates an unwanted sharp limit if sides are different. An uneven horizon gives an irregular circle. A blue empty sky occupying the upper half of the image and a horizontal horizon are perfect. Usually, you will have to prepare your panorama before using filter.
Wipe sky: with Color Picker, darker blue to toolbox foreground and lighter blue to toolbox background. Rectangular selection of sky including a small part of horizon. In the selection, draw a Gradient from top to bottom.
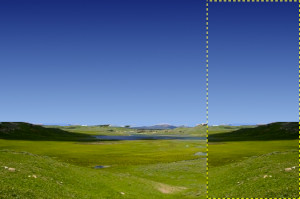
Select the left border of the image.
Copy the selection and Paste it as New layer.
Q shortcut to open the Align tool.
Click on new layer (superimposed on selection area): new layer limits appear. Align new layer to image right side.
Select>None.
Flip new layer horizontally.

New layer aligned to image right side and flipped: left and right image sides are now the same. Sky wiped out. Horizon horizontalized.
Add a black Layer Mask to new layer.
Apply a black-to-white gradient to layer mask.
Apply Little planet filter.