| 2. 모눈과 안내선 | ||
|---|---|---|

|
12장. 나만의 김프 만들기 |  |
| 2. 모눈과 안내선 | ||
|---|---|---|
|
|
12장. 나만의 김프 만들기 | |
You will probably have it happen many times that you need to place something in an image very precisely, and find that it is not easy to do using a mouse. Often you can get better results by using the arrow keys on the keyboard (which move the affected object one pixel at a time, or 25 pixels if you hold down the Shift key), but GIMP also provides you with two other aids to make positioning easier: grids and guides.
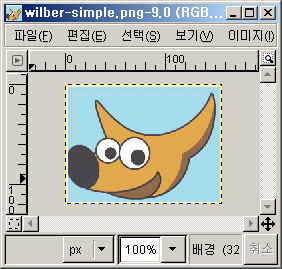
모든 이미지는 모눈을 가지고 있지만, 기본값으로 보이지 않게 되어 있기 때문에 이미지 메뉴의 → 를 통해 전환시켜야만 볼 수 있습니다. 혹 모눈을 자주 사용한다면 기본 설정 대화 상자의 이미지 창 외양에서 "모눈 표시" 에 체크합니다(보통 모드와 전체 화면 모드를 각각 설정해야 합니다).
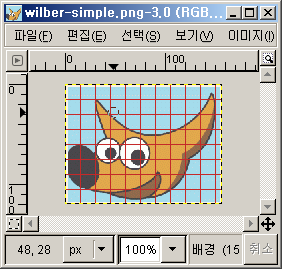
The default grid appearance, set up when you install GIMP, consists of plus-shaped black crosshairs at the grid line intersections, with grid lines spaced every 10 pixels both vertically and horizontally. You can customize the default grid using the Default Image Grid page of the Preferences dialog. If you only want to change the grid appearance for the current image, you can do so by choosing → from the image menu: this brings up the Configure Grid dialog.
모눈은 길이나 공간을 재는 것뿐만 아니라 이미지를 정확하게 배치하는데에도 유용합니다. 이미지 메뉴에서 → 를 선택하면 이미지를 가장 가까운 모눈의 선에 맞출 수 있습니다. 이렇게 하면 특정한 거리 내의 포인터는 근처의 모눈선으로 끌려가게 됩니다. 이러한 맞춤 간격의 기본값은 8 픽셀로, 기본 설정 중 도구 선택사항의 "당겨 맞출 거리" 를 통해 설정할 수 있습니다(쓸모는 별로 없지만 모눈이 보이지 않는 상태로 모눈에 맞춤기능이 작동되도록 할 수도 있습니다).