| 4.15. Værdipropagering | ||
|---|---|---|

|
4. Forvrængningsfiltre |  |
| 4.15. Værdipropagering | ||
|---|---|---|
|
|
4. Forvrængningsfiltre | |
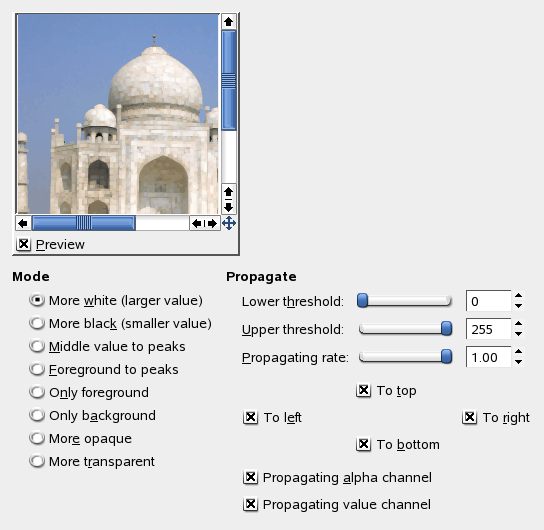
This filter works on color borders. It spreads pixels that differ in a specified way from their neighbouring pixels.
The result of your settings will appear in the Preview without affecting the image until you click on .
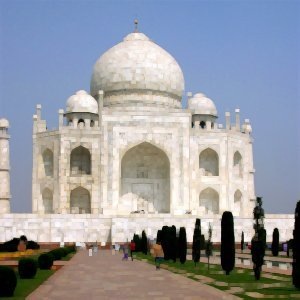
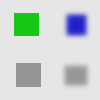
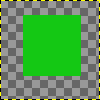
The examples will be about the following image:

Pixels will be propagated from upper value pixels towards lower value pixels. So bright areas will enlarge.
Figur 17.73. More white
Bright pixels have been propagated to dark pixels in the four directions : top, bottom, right and left. Filter applied several times to increase effect.
Pixels will be propagated from lower value pixels towards upper value pixels. So dark areas will enlarge.
On a border between the selected thresholds, the average of both values is propagated.
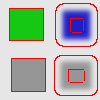
Figur 17.76. Middle value to peaks

A thin border with a transitional color has been added to objects. It is not visible around objects with smoothed borders.

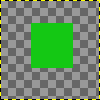
Green area zoomed x800. A thin border (one pixel wide) has been added. Its value is the average between grey (90%) and green (78%) : (90 + 78) / 2 = 84.
The propagated areas will be filled with the foreground color of the toolbox.
Figur 17.77. Foreground to peaks
In this example, the foreground color in Toolbox is Red. A thin border, one pixel wide, red, is added around objects. With smoothed objects, this border is located at the furthest limit of smoothing. Here, another border appears inside. This is an artifact due to the small size of the object which makes the smoothing area of opposite sides to overlap.
Only areas with the Toolbox Foreground color will propagate.
Figur 17.78. Only foreground
In this example, the foreground color in Toolbox is that of the green object. After applying filter several times, the green area is clearly enlarged.
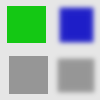
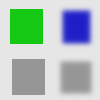
Only areas with the Background color will propagate.
These commands work like “More white” and “More black”. Opaque (transparent) areas will be propagated over less opaque (transparent) areas. These commands need an image with an alpha channel.
Figur 17.79. More opaque
Original layer, with a transparent background.
Filter applied several times: the green, opaque, area got increased.
A pixel will be propagated (spread) if the difference in value between the pixel and its neighbour is no smaller than the lower threshold and no larger than the upper threshold.
That's the propagating amount. The higher it will be the more colored the propagation will be.
You can select one or more directions.
If checked, the pixel alpha value will be propagated, otherwise the pixel will get the alpha of the neighbouring pixels. This checkbox is only visible when the active layer has an alpha channel.
If checked, the pixel's color channels (gray channel on grayscaled images) will be propagated. The option is checked by default, of course. This checkbox too is only visible when the active layer has an alpha channel.