| 4.4. Crop An Image | ||
|---|---|---|
 |
4. GIMPLite Quickies |  |
| 4.4. Crop An Image | ||
|---|---|---|
| |
4. GIMPLite Quickies | |
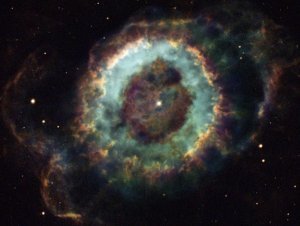
There are many reasons to crop an image; for example, fitting an image
to fill a frame, removing a portion of the background to emphasize the
subject, etc. There are two methods to activate the crop tool.
Click the
 button in the Toolbox, or use
→ →
in the image window. This will change the cursor and allow you to click
and drag a rectangular shape. The
button in the toolbox is the nicest way to get to any of the tools. I
have chosen one of the huge and beautiful APOD images
[APOD05].
button in the Toolbox, or use
→ →
in the image window. This will change the cursor and allow you to click
and drag a rectangular shape. The
button in the toolbox is the nicest way to get to any of the tools. I
have chosen one of the huge and beautiful APOD images
[APOD05].
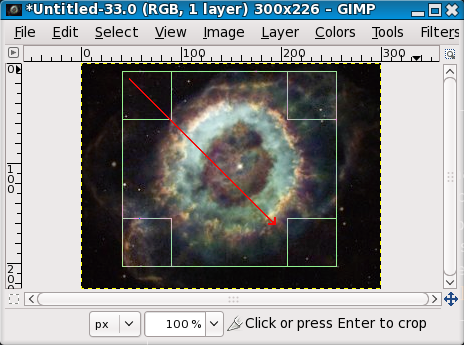
I always click on the approximate upper left corner and drag to the lower right corner; the approximate path is shown in red. You don't need to worry about being accurate on this first swipe with the crop tool.
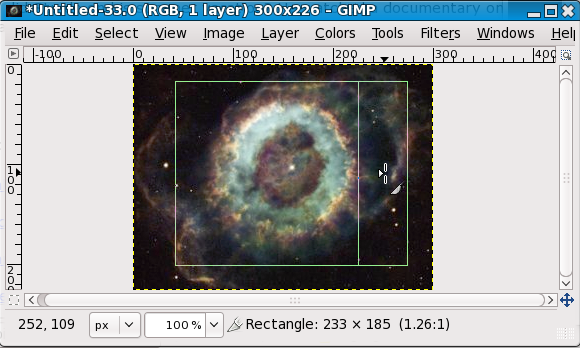
After completing the click and drag motion, a rectangle with special regions show the selected area. As the cursor is moved over the different areas of the selected crop area, the cursor changes. You can then drag the cursor to change the dimensions of the selected area. As shown in the figure above, as the crop area is resized, the dimensions and ratio are shown in the status bar. See Section 4.4, “Crop” for more information on cropping in GIMP. If you would like to make this rectangular image square, you should find the width and height from the Get Image Information Quickie (see Section 4.5, “Find Info About Your Image”. Use the smallest of the two lengths to determine the size of the square. In my 300 x 225 pixel image, the largest square I can get is 225 x 225 pixels. Use the image and the squares to get the best part of the image for the area. Use any of the areas to move the edges and change the dimensions to achieve the image that you prefer. Double click in the area to crop the image.