| 2.2. Guides | ||
|---|---|---|
 |
2. Grids and Guides |  |
| 2.2. Guides | ||
|---|---|---|
| |
2. Grids and Guides | |
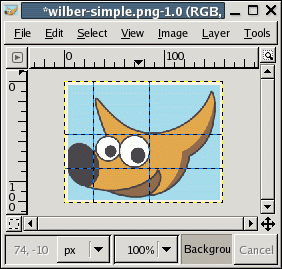
In addition to the image grid, GIMP also gives you a more flexible type of positioning aid: guides. These are horizontal or vertical lines that you create by clicking on one of the rulers and dragging into the image. You can create as many guides as you like, positioned wherever you like. To move a guide after you have created it, activate the Move tool in the Toolbox (or press the M key), you can then click and drag a guide. To delete a guide, simply drag it outside the image. Holding down the Shift key, you can move everything but a guide, using the guides as an effective alignment aid.
As with the grid, you can cause the pointer to snap to nearby guides, by toggling → in the image menu. If you have a number of guides and they are making it difficult for you to judge the image properly, you can hide them by toggling → . It is suggested that you only do this momentarily, otherwise you may get confused the next time you try to create a guide and don't see anything happening.
If it makes things easier for you, you can change the default behavior for guides in the Image Window Appearance page of the Preferences dialog. Disabling "Show guides" is probably a bad idea, though, for the reason just given.
![[Note]](../images/note.png)
|
Note |
|---|---|
|
Another use for guides: the Guillotine plugin can use guides to slice an image into a set of sub-images. |
|
|
Note |
|---|---|
|
See also Guides in Glossary. |