| 4.14. Warp Transform | ||
|---|---|---|

|
4. Transform Tools |  |
| 4.14. Warp Transform | ||
|---|---|---|
|
|
4. Transform Tools | |
Warp Transform is a GEGL based brush-like tool which replaces the old iWarp filter and works directly on the image, on real things instead of a tiny preview window. You can use an erase mode to partially remove warping you applied. You have available options to adapt strength and size of warping.
There are different possibilities to activate the tool:
from the image-menu: → → ,
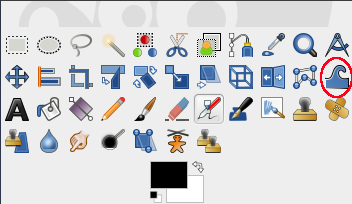
by clicking the tool icon in toolbox:
![]() ,
,
or by clicking on the W keyboard shortcut.
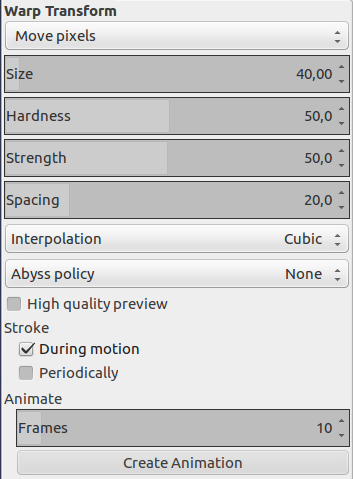
The available tool options can be accessed by double clicking the
Warp Transform tool icon in toolbox.
![]()
![[Note]](images/note.png)
|
Note |
|---|---|
|
An interpolation method is used during warping. See Interpolation for a description of these methods. |
“Move pixels” is the first item of a drop-down list which contains various warping methods:
Move pixels is the default method.
Grow
Shrink
Figure 14.166. Shrink example

Clicking 5 times at the center of the image with brush size = image size.
Swirl clockwise/counter-clockwise
Figure 14.167. Swirl example

Swirling clockwise the whole image (brush size = image size) with a circular movement of the brush.
Size : the size of the brush is increased.
Hardness : TODO (work in progress).
Strength: set displacement of pixels during warping. The maximum of displacement is on the brush diameter.
Spacing : TODO (work in progress)
“Abyss” is a term used by GIMP developers for “data outside the input buffer”. The warp tool moves pixels from one point to another. Some pixels may come from outside the layer boundary. These pixels don't actually exist anywhere, and therefore don't have any associated color; yet, some color must be assigned to them.
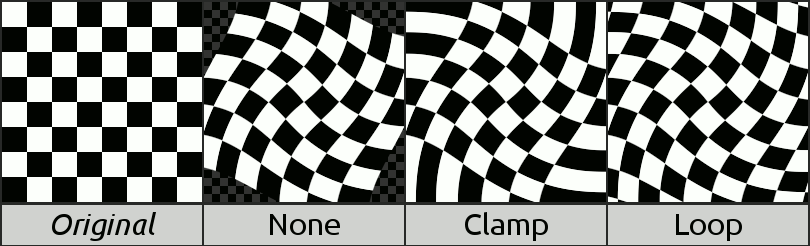
“Abyss policy” has a drop-down list that allows you to fill empty areas in different manners:
None: this is the default option. Empty areas are transparent. An alpha layer is necessary for this option.
Clamp: each edge of the transformed layer stretches out indefinitely, so, for example, a pixel to the left of the layer boundary has the same color as the leftmost pixel of the layer with the same y coordinate. An alternative way to think of it is that each pixel outside the layer boundary has the same color as the closest pixel inside the layer boundary.
Loop: the transformed layer repeats itself in all directions, so that, for example, falling off the right edge of the layer takes you back to the left edge.
Black, White>: these options are similar to "none", but use black and white for out-of-bounds pixels, instead of transparency.
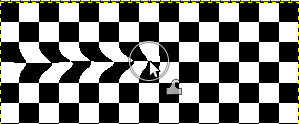
“preview” is the image window, where you work, before pressing Enter to validate the transformation. With this option checked, preview is more accurate, but slower.
TODO (work in progress)
This option allows you to generate several intermediate images between the original image and the final deformation of this image.
Frames to set the number of frames in this animation.
button: to create the animation. A new image window is created. Export it as a GIF image, checking the As animation option in the export dialog.