| 4.7. Shear | ||
|---|---|---|

|
4. Transform Tools |  |
| 4.7. Shear | ||
|---|---|---|
|
|
4. Transform Tools | |
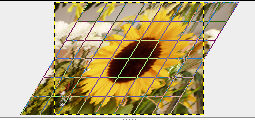
Shear tool is used to shift one part of an image, a layer, a selection or a path to a direction and the other part to the opposite direction. For instance, a horizontal shearing will shift the upper part to the right and the lower part to the left. A rectangle becomes a diamond. This is not a rotation: the image is distorted. To use this tool after selecting, click on the image or the selection: a grid is possibly superimposed and the Shearing Information dialog is opened. By dragging the mouse pointer on the image you distort the image, horizontally or vertically according to the direction given to the pointer. When you are satisfied, click on the Shear button in the info dialog to validate.
![[Note]](images/note.png)
|
Note |
|---|---|
|
You can't shear both ways at the same time, you have to use the shear tool twice on end. |
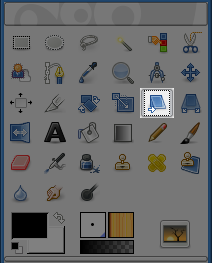
You can access the Shear Tool in different ways:
from the image menu bar → → ,
by clicking on the tool icon:
 in Toolbox,
by using the Shift+S key combination.
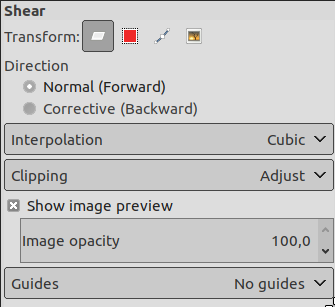
Normally, tool options are displayed in a window attached under the Toolbox as soon as you activate a tool. If they are not, you can access them from the image menu bar through → → which opens the option window of the selected tool.
|
|
Note |
|---|---|
|
These options are described in Transform tools common options. |
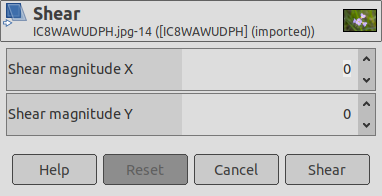
Here, you can set the horizontal shearing amplitude. A positive value produces a clock-wise tilt. A negative value gives a counter-clock-wise tilt. The unit used by shearing are half-pixels.
As above, in the vertical direction.